breakfast

homemade tahini muesli bars

My friend the GP reminded me of these a few weeks ago when she asked if I still had the recipe - I used to make these when we worked in the same office in London and breakfast at my desk was a regular occurrence (as I rarely feel like eating before 9am). I had not made them for well over 10 years and now I’ve made them again, I’m not sure why…they’re the perfect portable breakfast.

These brought back lots of happy memories of sharing them and working with my dear friend who I miss very much but am grateful to still be in touch with all these years later. These are for you, Zana!

homemade tahini muesli bars

Originally published on the ye olde blog skinnylattestrikesback.com! With a few 2023 additions.

Date mixture:
85g (1/2 cup) dried dates, diced
120ml (1/2 cup) water
120g (1/2 cup) tahini

420g (3 cups) toasted muesli (I like Carman’s or Arnold’s Farm - in the UK I quite liked Sainsbury’s Own) - with or without dried fruit, as per your preference
60g (1/4 cup) wholemeal plain flour
60g (1/4 cup) pumpkin seeds (pepitas)
A drizzle or two of maple syrup (or honey if you aren’t vegan)

Lightly coat a lamington tray or a 9”x9” baking pan with cooking spray, line with baking paper and set aside. Preheat oven to 180 C.

Prepare the date mixture: Place the dates and water in a small saucepan. Bring to a gentle simmer and cook for about five minutes, stirring occasionally, until the dates are soft. The mixture will be thick. Allow to cool. Add the tahini and set aside.

Mix all the dry ingredients together in a mixing bowl. Add the date mixture and a few drizzles of maple syrup (according to taste). Add a bit more tahini or water if it’s too thick or a bit more muesli if it’s too wet. It should be like Anzac biscuit mixture (or, in the UK, like flapjack mixture).

Mix to combine and press into the baking pan.

Bake for approximately 15-20 minutes - keep an eye on it and don’t let the top burn.

Allow to cool completely before cutting into bars. Cut them as big or as small as you like - mine are on the bigger side because they are a desk breakfast and need to keep me going until lunchtime. And they do!

As it’s summer here, I’ve been keeping these in the fridge so they remain chewy but they’re also perfectly fine stored in an airtight container in the pantry.

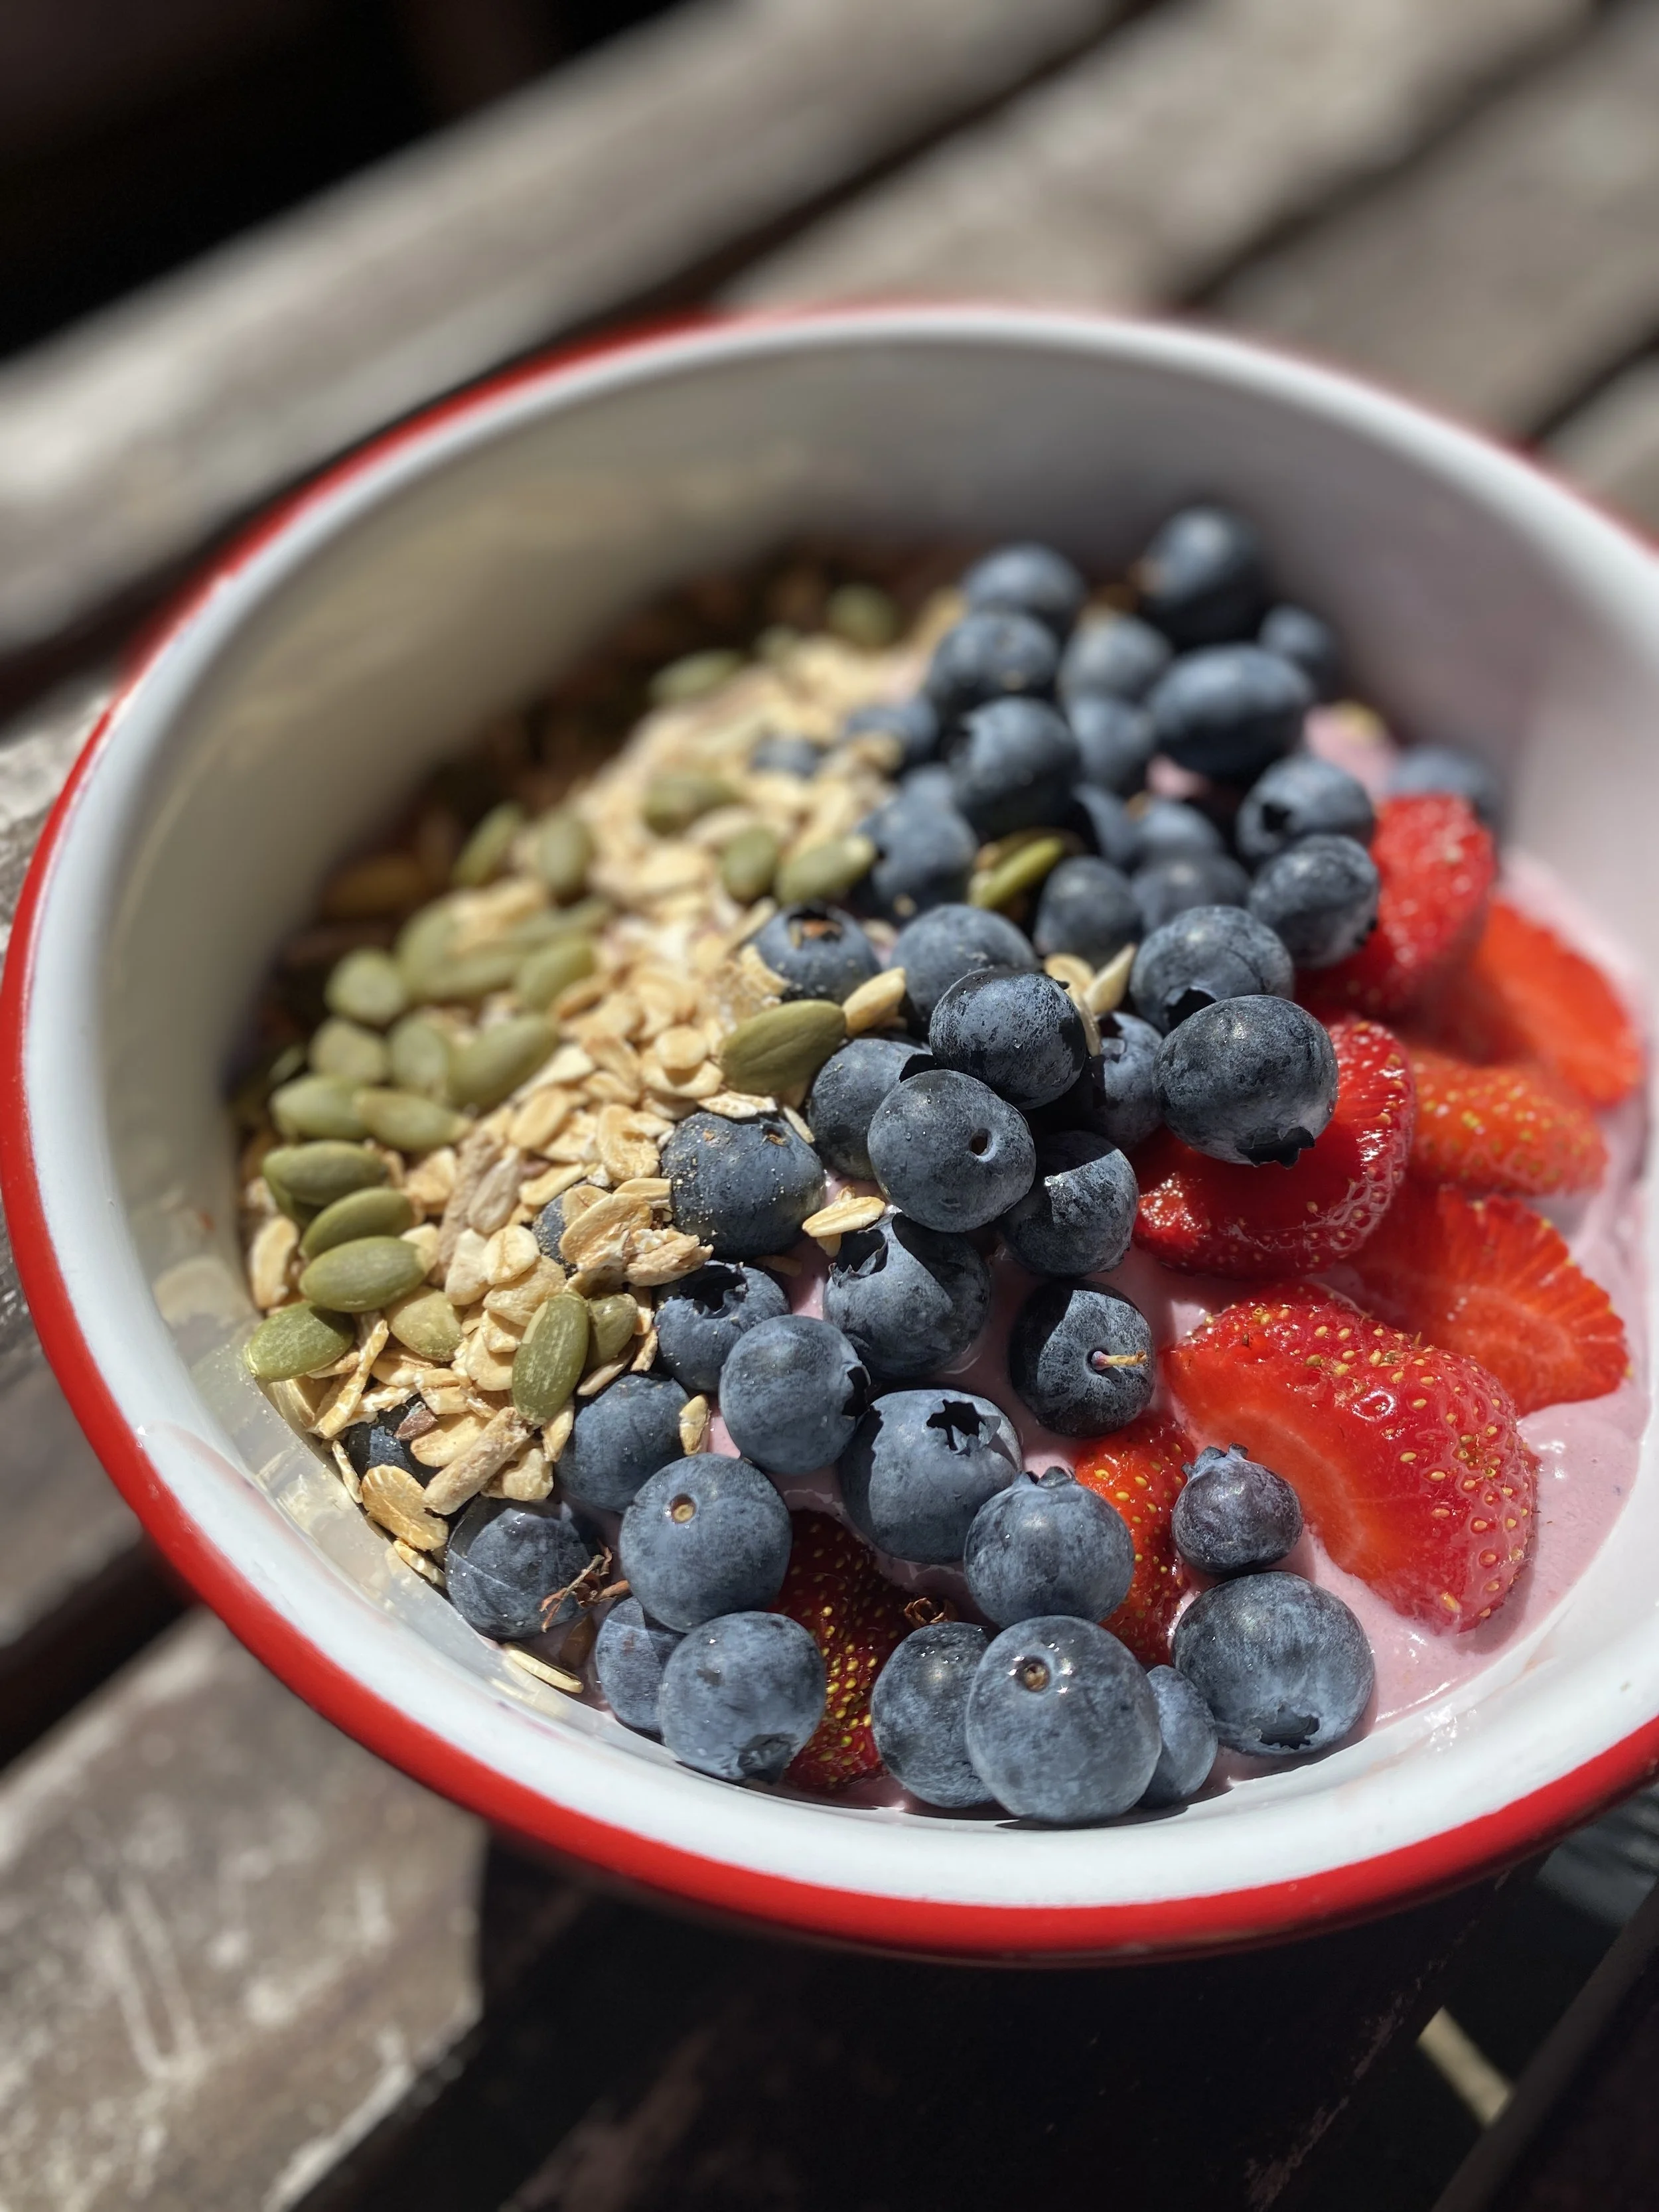
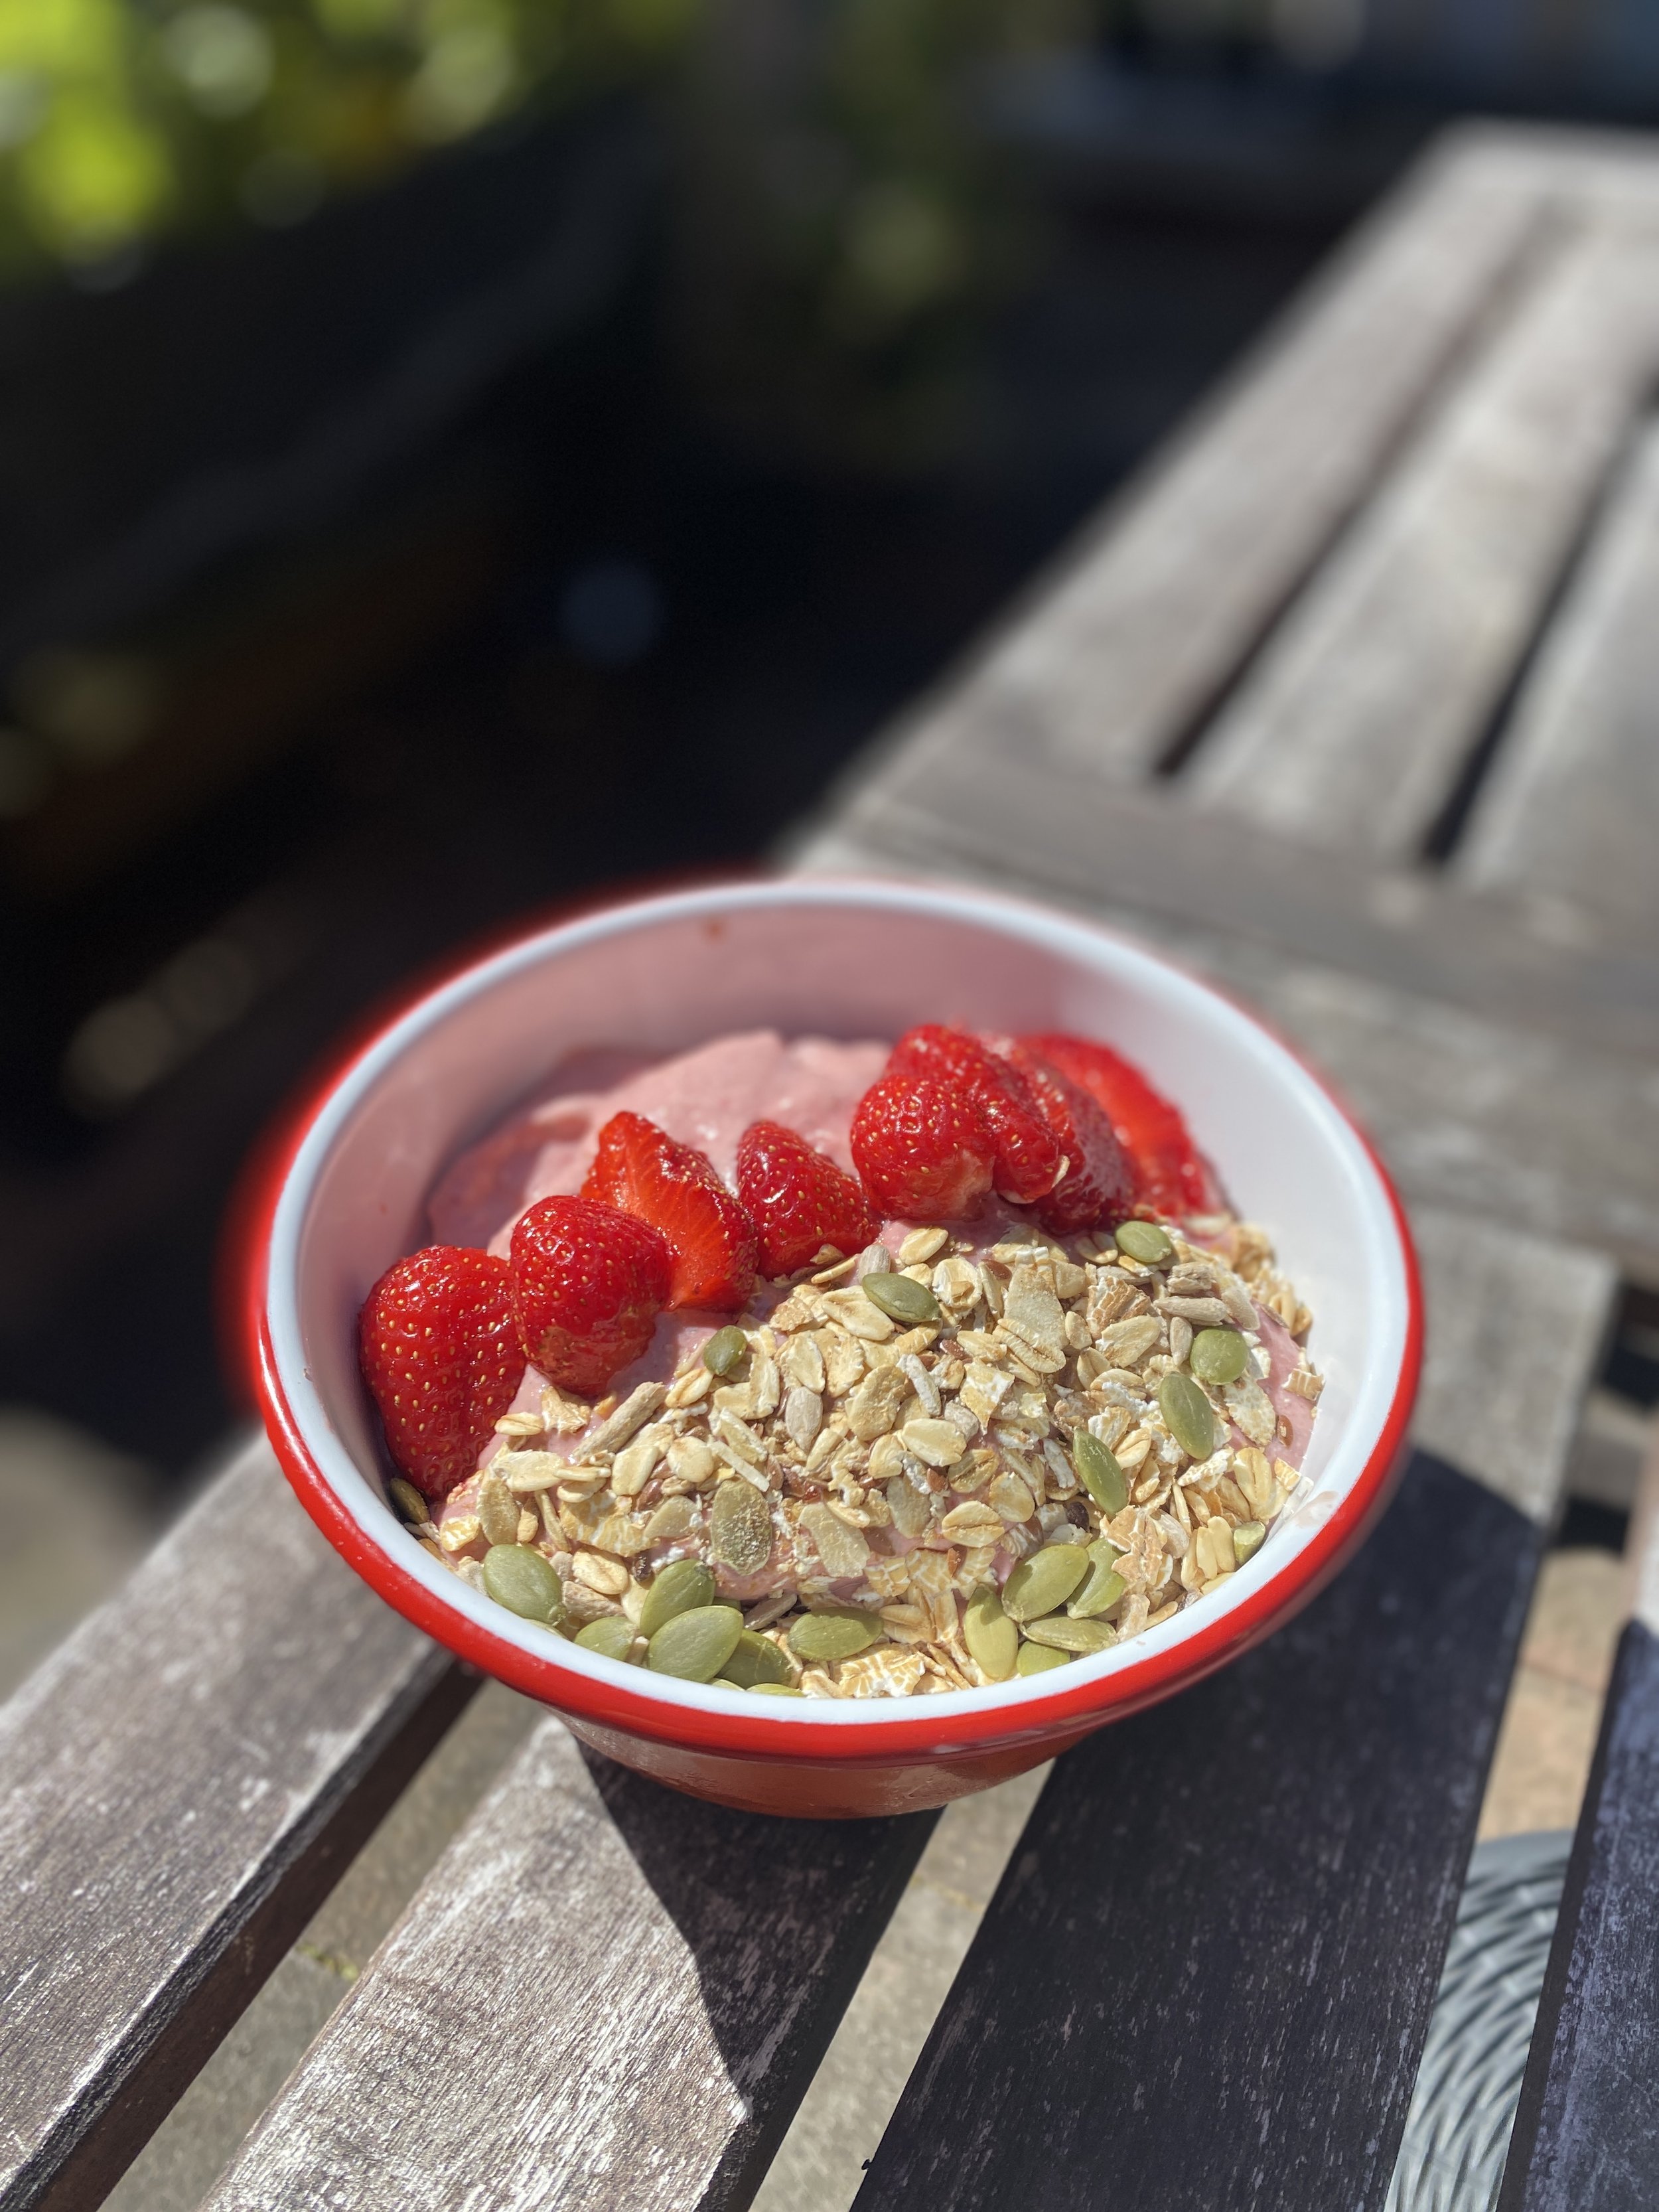
Enjoy as they are or crumbled over yoghurt, for breakfast or a healthy snack.

silken tofu summer breakfast bowl

This is the most heavenly breakfast on a baking hot summer’s morning, particularly if you’ve just been a for a run or walk and need both protein and to cool down!

Silken tofu is the secret ingredient here, which results in a delicious and protein-rich alternative to yoghurt. You can load up your bowl with seasonal fruits and granola/muesli/seeds as you like. I tend to do a combination of both, as you can see.

The strawberries and blueberries are all homegrown, by the way!

Silken tofu summer breakfast bowls

Serves 2

1 x 300g pack of silken tofu (I tend to use Woolworths Macro brand)
150g frozen bananas
150g other frozen fruit (I most often use mango, blueberries and strawberries, but sometimes I’ve used apricots, pineapple and cherries. Alternatively just use 300g frozen bananas + handful of fresh fruit )
A handful of fresh fruit - optional - I usually put in a handful of fresh blueberries or strawberries from the garden that are fine to eat but a little wart-like in appearance
20g peanut or almond butter
Fresh seasonal fruit, to serve
Muesli, granola or nut/seed mix, to serve

It couldn’t be simpler - but you will need a powerful blender for this recipe, something that can basically crush ice. I’ve not tried it in my food processor but I can imagine it would produce similar results, you might just have to pause and scrape down the sides. My blender came with a special prodding stick, so you can “stir” the mixture as it blends, if anything gets stuck (and it usually does).

Open and carefully drain the excess liquid away from your silken tofu. Don’t worry if there’s still a little bit. Once you’ve done this you can either invert it on to a plate, or leave it in the container (which is what I do!), and use a small sharp knife to cut the tofu into rough cubes.

Place the silken tofu cubes in the blender first, and then add the rest of the ingredients. Adding the tofu first really helps the mixture blend better, as it turns to liquid that then draws all the other ingredients in!

If you have a digital scale, it’s even easier. I just place the empty blender jug on the scale, add the silken tofu, then reset the scale to zero and add the rest of the ingredients.

A note on the fruit: use whatever you’ve got and enjoy the combination of. It’s important that at least half the mixture is frozen fruit, as the more frozen fruit you use the thicker it will be (and I like it thick so I mostly use all frozen fruit with a bit of fresh as an extra). I only tend to buy frozen fruit when it’s on special, as it’s quite expensive these days. When bananas are in season and cheap, I buy several kilograms and freeze them. That way, I always have some frozen fruit on hand for a smoothie or for this breakfast bowl.

Place the lid on and blend until the ingredients become a thick smooth mixture, a bit like soft ice cream. If you have a prodding stick, like me, you can keep the blender running and prod the pesky bits from the sides (but be careful!). Otherwise, pause and scrape down the sides of the blender as needed. If it’s not blending, stop, and rearrange the ingredients, maybe add a touch of water or soy milk. As mentioned, adding the tofu first seems to avoid this.

Stop once everything is well combined and there are no remaining chunks of unblended frozen fruit. Keep an eye on it because if you like it thick, you’ll want to stop once everything is blended - the longer you blend, it will lose its thickness.

Once ready, pour (with the assistance of a spoon/spatula) into two waiting bowls (which you could also have chilling in the freezer, if it’s a particularly hot day).

Scatter the top with fresh seasonal fruit and muesli/granola/nuts/seeds. Eat!

Best enjoyed sitting in your garden in the sun, soaking up the delicious headiness of summer. Memories of winter porridge will feel very distant indeed.

And I promise you, you can’t taste the tofu!

blueberry pancakes for one

blueberry-pancakes-for-one-philippa-moore

For those mornings where it’s just you (or you’re the only one who feels like pancakes), this is the pancake recipe you need! It makes the perfect amount for one - three large pancakes, or five to six smaller ones if you feel like sharing.

You can use any berries you like, or other fruit (slices of banana are nice) or chocolate chips. I put a few halved pecans in with the blueberries on my last pancake when I made a batch, and that was rather tasty. You could even (gasp) leave them plain!

Blueberry pancakes for one

1 large egg
1 cup (250 g) self-raising flour
1 cup (250 ml) milk of your choice (I used almond)
A pinch of sea salt
A pinch of cinnamon or mixed spice (optional)
A few handfuls of fresh or frozen blueberries
Greek yoghurt and honey, to serve

I make the mixture in a large jug, which makes making the pancakes incredibly easy and less messy. As you’re only making enough pancakes for one, there will be plenty of room to whisk everything up. So grab yourself a large jug.

Crack in the egg and whisk briefly to combine the yolk and white. Add the flour, milk, salt and cinnamon (if using) and whisk everything together (I use a small sauce whisk but a fork should work just as well) until combined and smooth.

Get a small non-stick frying pan (I use a 24cm one from Kmart) and spray with cooking spray - you can, of course, put some flavourless oil or butter in, but I find spray works best for pancakes. Place the pan over medium-high heat to get the pan nice and hot. Test if it’s ready by running your fingers briefly under the tap and flicking it at the pan. If it sizzles, you’re ready to make pancakes.

Pour a third of the pancake mixture into the pan and distribute around slightly to get the size/thickness you want. Turn the heat down slightly, not super low but low-ish. Grab a handful of blueberries and scatter over the surface of the uncooked side of the pancake. Leave to cook for a few minutes, until you can see bubbles on the surface of the uncooked side. Sometimes it’s worth having a peek underneath to make sure the other side isn’t getting too brown. I find the trick of having a hot pan to start with but then reducing the heat once you’ve poured the mixture in is very helpful. Flip the pancake over and cook the other side. Press gently on the top to see if it’s cooked - if no raw mixture peeks through, you’re good!

I then place the cooked pancake on the plate I’m going to eat them on and put that in a low oven to keep warm while the rest of them cook.

Cook the remaining mixture as above.

Remove the plate from the oven and serve - I love to eat pancakes with Greek yoghurt and honey, which reminds me of a happy trip to Cyprus Tom and I made some years ago, for our sixth wedding anniversary. Next year is our tenth! Can you believe it?

Enjoy your pancakes, your coffee and your weekend. And if it isn’t the weekend yet, pancakes for breakfast always make you feel like it is.


mince pie porridge

It’s everything you think it will be.

It’s everything you think it will be.

Friends, I’m writing this from the hotel near Heathrow Airport where Tom and I are spending our last night in the UK!

In a matter of hours, I’ll swapping winter for summer - and this breakfast won’t exactly be seasonally appropriate. But with Australia’s changeable weather, you never know! I made up this breakfast last year, as the first snow was falling in London and I wanted something hearty and warming but indulgent for breakfast on one of my work-from-home days. It was so delicious I simply had to share it! I’ve never seen anyone else make this so I guess it’s a PM original, haha! You can probably tell by the lack of approximation in the recipe I’ve given below. I’m just a whack it all in kind of cook, and I’m assuming you already know how to make porridge, so this is easy!

It has become my favourite thing to eat for breakfast this time of year in the lead up to Christmas. It’s festive, indulgent and delicious! If you’re a mince pie fan, give it a try. You will be delighted from the first mouthful to the last.

Mince pie porridge

Serves 1 hungry or 2 less hungry people

2 cups rolled oats/porridge oats (I have used Sainsbury’s organic Scottish porridge oats)
Milk of your choice (I like to use oat or almond) - quantity will depend on runny or thick you like your porridge
An appropriate sprinkling of festive spices to your taste - I use a mixture of cinnamon, nutmeg and ginger, but just mixed spice is fine if that’s all you have
Pinch of sea salt
Flaked almonds, or other nuts or seeds you have lying around (I like to add chia) (optional)
2 mince pies
Greek yoghurt or soy cream to serve

Place oats, milk, spices and salt in a small saucepan and stir to combine. Place the pan on a medium heat and stir regularly as it heats up, the oats cook and the porridge thickens. Add more milk if you need it. Add more oats or some chia seeds if it’s too wet!

When it’s nearly ready, add any nuts/seeds (if using) and then crumble the mince pies into the porridge mixture, stirring well. Leave on a low heat, stirring constantly, almost whipping it, to break up the bigger bits of pastry and filling (but be careful!). Once it is all well combined, check for the consistency you like (I sometimes add a little more milk at this stage if it’s got too thick) and then pour into your bowl/s. If you’re feeling very indulgent, you can place another mince pie on the top.

Drizzle with yoghurt or soy cream (my favourite!) and eat! Preferably with Kate Rusby’s Christmas album The Frost is All Over playing softly in the background and watching snow fall.

What’s your favourite festive breakfast?


chilli cheese toast with a fried egg

chilli-cheese-toast-fried-egg

My standard brunch tends to go through phases. After having one of the tastiest breakfast rolls in my life in Sydney in December 2011, my standard go-to Sunday brunch for years was a ciabatta roll with pesto, halloumi, red pepper and a fried egg. For which I am still happy to provide the recipe. It really is so good - for a time, I considered setting up a stand outside Amersham station (which was our local station for a while, in 2013-14) to rival the bacon sandwich man. I thought it would be a lucrative venture. Seriously, those egg-halloumi-pesto rolls were the best. 

But lately things have shifted and chilli cheese toast with a fried egg on top is what Tom and I find ourselves eating on the weekends. I had a similar dish at Dishoom for brunch and loved it so much, making it at home was the next logical step. 

The chutneys that I make this toast with are something of a revelation, and making them has become an obsession of mine. I have embraced my inner Mary Berry and become something of a chutney-maker this last year. There's something so satisfying about putting a pan of ingredients on to simmer on a Sunday afternoon, coming back after an hour and the house has been infused with the sharp smell of spices, ginger and chilli and the sweetness of garlic and tomato.

I much prefer chutneys to jams. They are so versatile, you can put a dollop on top of a curry, soup, a piece of grilled tofu, halloumi or fish. Or spoon directly out of the jar, as I sometimes do.

The two I currently make in regular rotation are: the tomato kasundi from Anna Jones' excellent cookbook The Modern Cook's Year, which I highly recommend; and the aubergine and tamarind chutney from Jackie Kearney's Vegan Street Food, which is also one of my most cooked from cookbooks. Both of them are spicy and have a fierce kick from the chilli, and a tangy sourness that I find so addictive. I couldn't find these specific recipes made available by their creators online but if you google the names, you should be able to find something similar (or buy the books, they are both wonderful and I cook from them a lot). Or use a store-bought chilli chutney, they are very easy to find. But it goes without saying that you should buy the best you can afford. This not a dish on which to skimp, particularly the cheese!

Cheese on toast was one of the first things I learned to make as a child (Anzac biscuits were the first, then pancakes) and while what follows here is hardly a recipe, this is how I do it. 

Chilli cheese toast with a fried egg

For 2

4 pieces of good sourdough bread
Your favourite chilli-spiked spicy chutney or sauce, as much as you like
Some piquant mayonnaise (optional, but does help offset the spiciness. I like to use Japanese Kewpie mayo)
Grated mature cheddar cheese, as much as you like
2 or 4 eggs (depending on whether you're having one or two each)
Olive oil or cooking spray
Freshly ground black pepper
Sprigs of fresh coriander or parsley, or finely chopped spring onion (optional)
A side of wilted, lemon-dressed spinach if you're feeling virtuous (optional)

Preheat your oven to 220 C (fan-forced).

Line a baking tray with foil or baking paper. Place the bread on the tray. Top each slice of bread with spoonfuls of your chosen chilli chutney and spread around to cover the surface of the bread. Evenly squeeze on a little bit of mayonnaise, if using. 

Top the bread with grated cheddar to completely cover the bread.

Bake in the oven for 5 minutes or until golden and bubbling. 

While the toast is in the oven, heat a splash of oil in a frying pan over high heat (or spray the frying pan with cooking spray). Once the pan is hot, crack in your eggs and fry until they are cooked to your liking. I usually cover the pan for a minute so the top of the egg steam-cooks but the bottom remains lacy and crispy.

The toast prior to egg being put on top! 

The toast prior to egg being put on top! 

Put the chilli cheese toast on plates, place the fried egg/s on top, grind some freshly ground pepper on top and scatter the fresh herbs/spring onion if using.

Allow the toast to cool slightly. Then prepare for a taste sensation.